How Do You Rewire a Three-Prong Extension Cord?
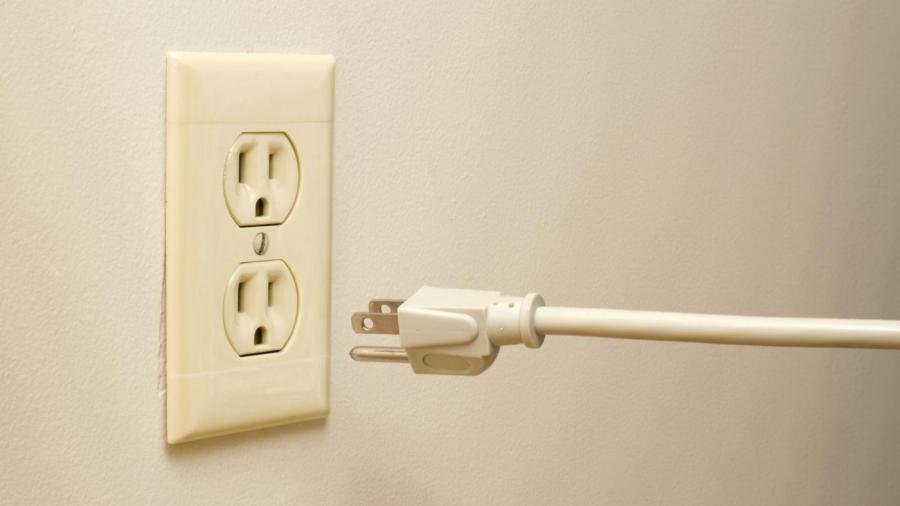
To rewire or repair a damaged three-prong extension cord, remove the damaged portion, and cut through the cord’s outer jacket to expose the inner wires. Replace the damaged plug with a plug of the same style, voltage level and amp rating. Along with a new plug, necessary tools include a pair of wire strippers with a cutting tool, a utility knife, a Phillips head screwdriver and electrical tape.
-
Remove the damaged portion
Use the cutting tool of the wire strippers to remove the damaged portion of the cord. Make one cut for damaged portions that are fairly close to the plug. Make two cuts for damaged portions that are further away from the plug to avoid sacrificing too much of the cord’s overall length.
-
Strip away the cord’s outer jacket
To strip away the main cord’s outer jacket, use the utility knife to score a perfectly straight line around the circumference of the cord. Place this score about an inch away from the end of the original cut. Pull on the cord to remove the cut portion. Separate the inner green, black and white cords. Use the wire strippers to strip away these cords’ outer jackets to expose the inner copper wires. Repeat this step for the other end of the cord if two cuts were originally made.
-
Attach the copper wires to a new plug
Skip this step if the middle of the cord is being repaired. Unscrew the new plug, and loosen each internal screw. Place the cover of the plug around the cord. Tuck the wires of the green cord around the green screw, the wires of the white cord around the silver screw, and the wires of the black cord around the brass screw. Tighten each screw. Cut away frayed wires. Close the plug, and re-tighten the main screw.
-
Connect the wires
Connect the two ends by wrapping the copper wires around the corresponding colors of the other cord. Wrap each individual cord with electrical tape before wrapping the entire portion with electrical tape.


