How Does One Put Photos From a Computer Onto a CD?
Putting photos from a computer onto a CD can accomplished by inserting a writable CD into the computer’s CD-ROM drive and selecting the “Burn files to disc” option. Select photos from the Windows Photo Gallery to complete the process.
-
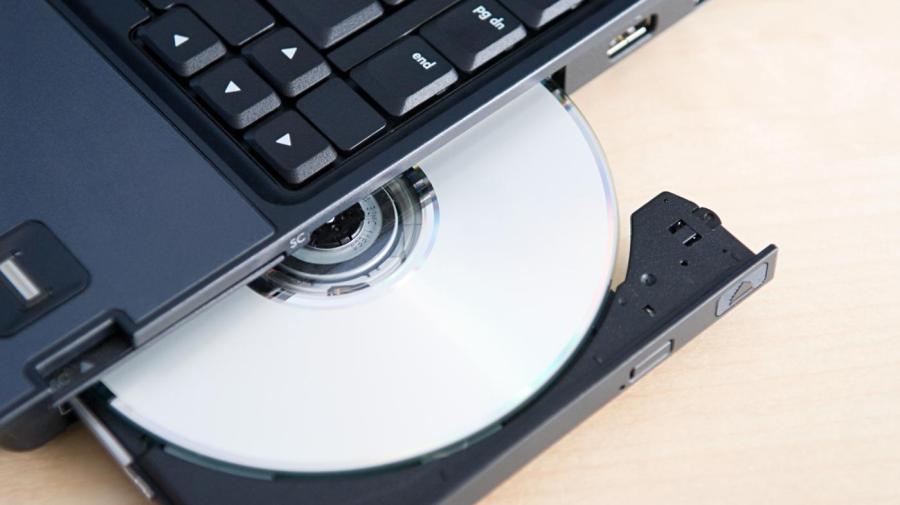
Prepare the blank CD
Insert a blank, writable CD into the CD-ROM drive of the computer. A dialog box appears when the CD is inserted. Click the “Burn files to disc” option. Name the disc and wait for it to be formatted.
-
Select the photos to transfer
Open the Windows Photo Gallery by clicking the Start menu and selecting the Windows Photo Gallery from the list of programs. All of the photos on the computer appear. From the listed photos, click on the photos that will be transferred onto the disc. To select multiple folders, hold down the control key and click on as many files as desired.
-
Burn the disc
Drag the selected photos into the burn disc folder. An indicator appears that provides information about the amount space available on the disc. When ready, click the “Burn to disc” button and the photos are transferred onto the disc. The time it takes to complete the process varies depending on the speed of the CD-ROM drive.


